
If you are just looking for a compose file I’ll keep it at the top here:
---
services:
  emulatorjs:
    image: lscr.io/linuxserver/emulatorjs:latest
    container_name: emulatorjs
    environment:
      - PUID=1000
      - PGID=1000
      - TZ=Europe/Belfast
      - SUBFOLDER=/ #optional
    volumes:
      - /mnt/Docker Containers/App_Data/emulatorjs/config:/config
      - /mnt/Docker Containers/App_Data/emulatorjs/data:/data
    ports:
      - 3000:3000
      - 82:80
      - 4001:4001 #optional
    restart: unless-stopped
The official emulatorja github link: https://github.com/linuxserver/docker-emulatorjs
I’ve a few changes from the compose file in the link, I’ve changed the timezone (TZ) to that of my server (reduce the chance if any complications) – here is a list of all the Time Zones: https://en.m.wikipedia.org/wiki/List_of_tz_database_time_zones
2nd change I have is the one of the ports, I already have containers that run on port “80”, in the compose file above I’ve changed the config from “80:80” to “82:80” this maps the host port 82 to port 80 inside the container, so incoming traffic on port 82 will be redirected to the container on port 80 (we can also use Nginx, to see more on this please click here).
The final change is under “volumes”, replace this with your own storage location.
The Installation
If we navigate to our Portainer installation, on the homepage go to stacks

add a stack

Call our stack emulatorjs (only lower case letters can be using in the naming, it will give a warning if you try to use any characters not allowed.
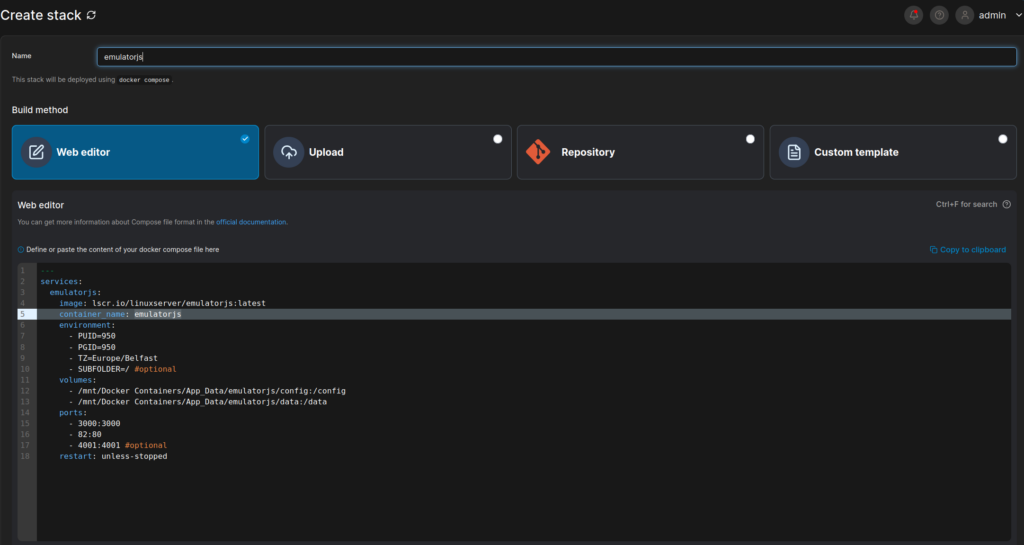
Copy and paste the the compose file from above into the “web editor” and then press the deploy this stack, that’s it we should now have emulatorjs installed.
We can go to our containers dashboard to view all our running containers, under the heading “published ports” if we click on 82 we will be brought to the emulator home screen , but I’m sure you’ll have noticed that it is quite barren with a black/black screen,


we must first add some rom files and we do that clicking on the “published port” 3000 which will bring us to the management page for the emulator.
Setup
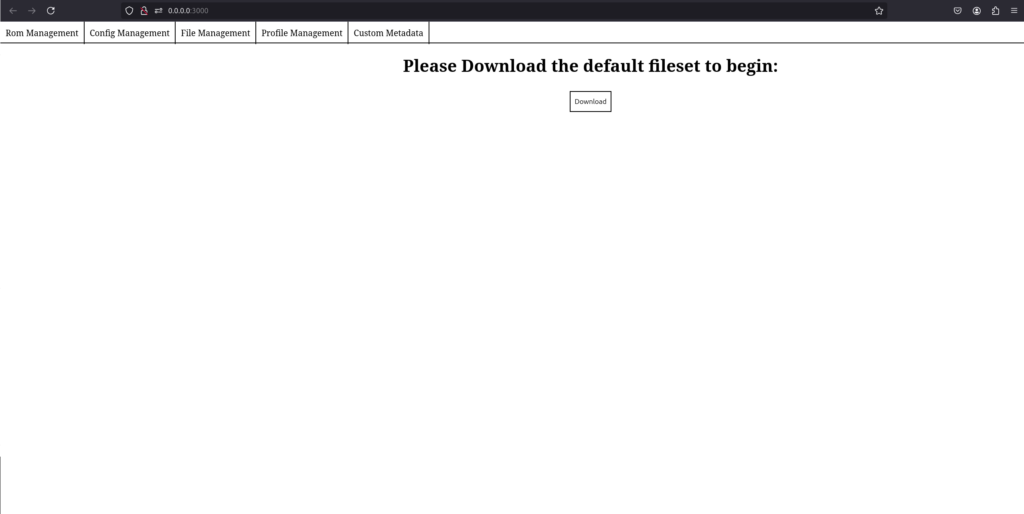
First things first – as the prompt on the page say, we will download the default fileset to begin and let it runs it’s course.
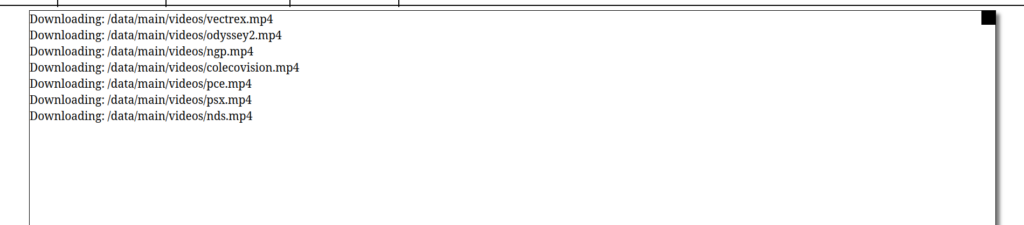
We will know when the initial setup is complete when the dialog box shows “Downloaded All Files”, we can now close this box

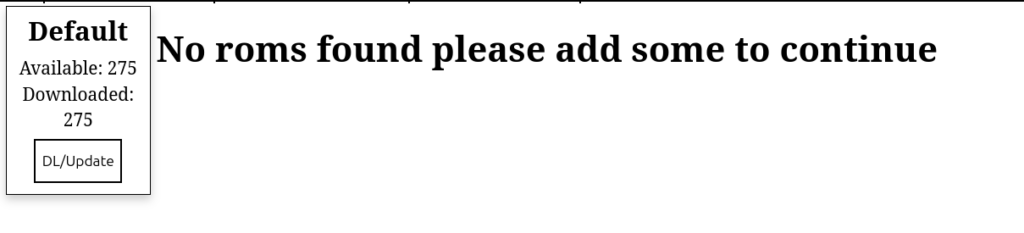
Now the emulator is setup to copy across ROMs.
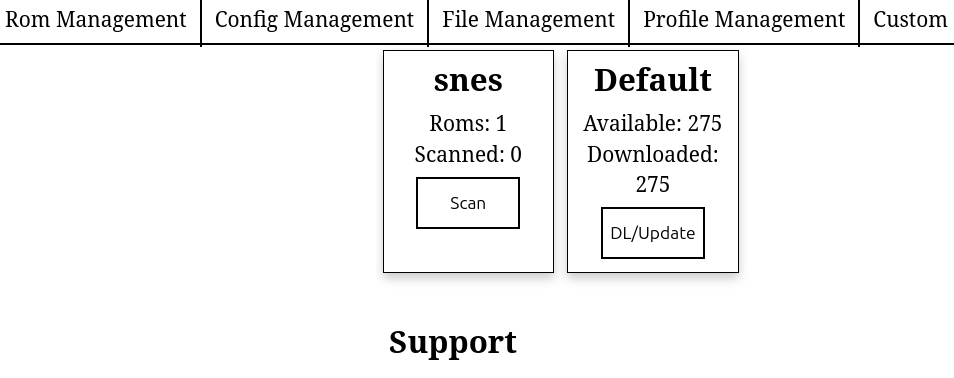
Navigate to the “Profile Management” Tab and click on through to it
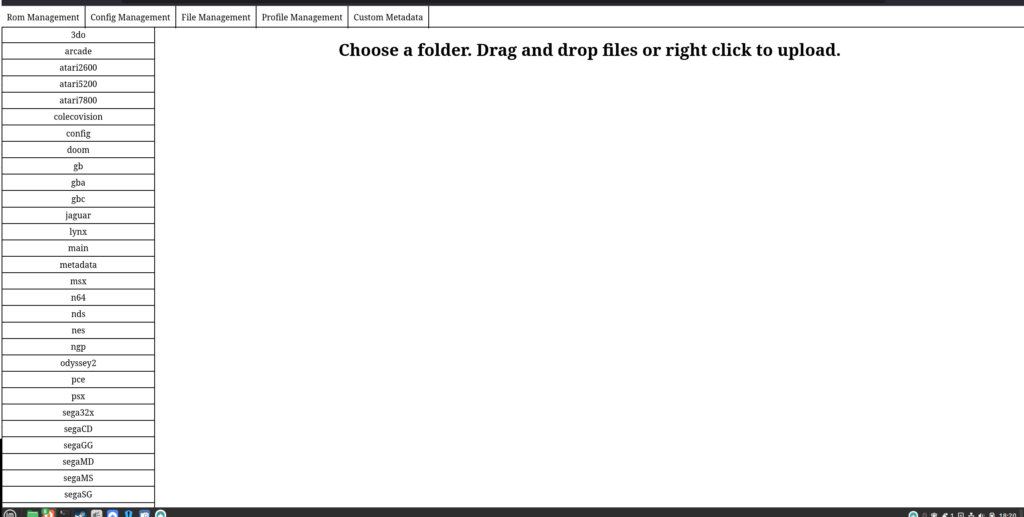
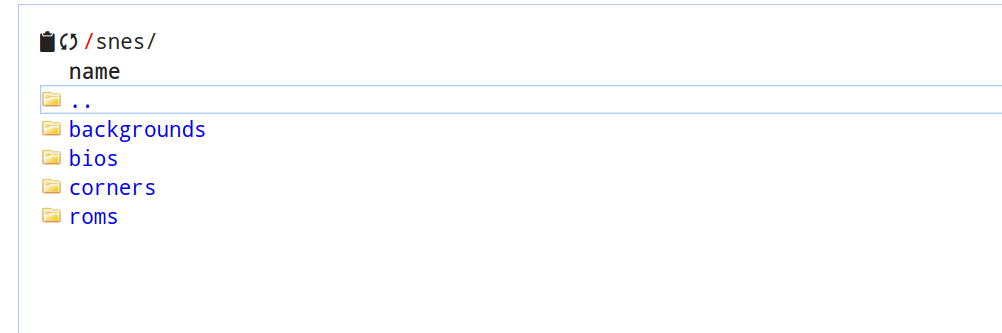
From here select your system, I’m going to go into scroll down to the SNES folder and click into the “roms” folder
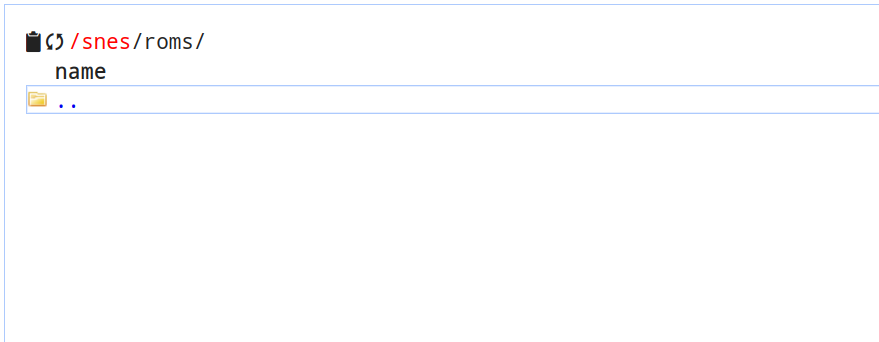
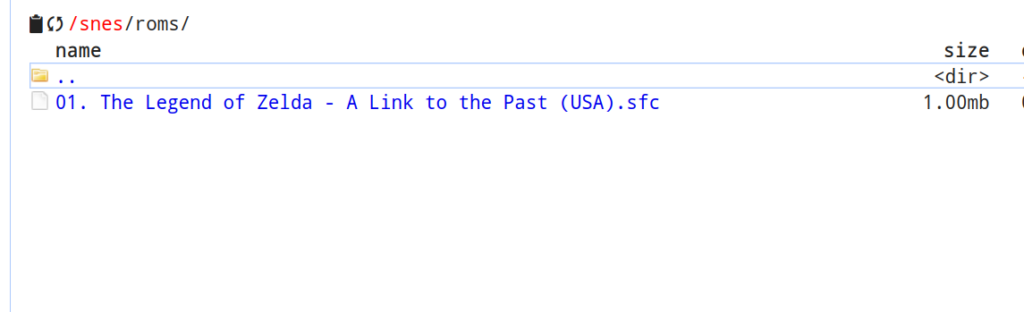
This is where you load in the ROM files – obviously I recommend you only use ROMs of games you personally own, I am going to upload one of the games I personally own as an example – Zelda – A link to the past, Just Drag and drop the ROM into this folder
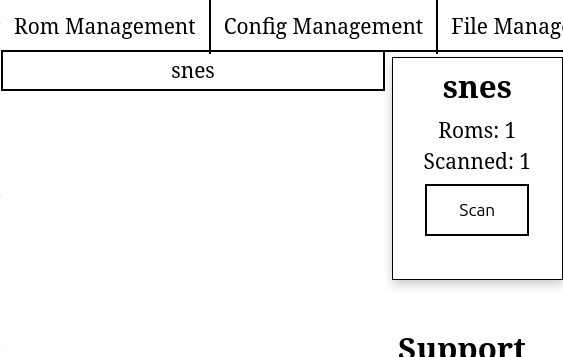
Now we click the “Rom Management” tab
Click scan, with 1 game this will be quite quick and we will know when this is completed when the dialog box shows “Scan exited with code: 0”

We can close down this window and now on the left hand side we should see an additional Tab for snes
Click into it and we should see the Game with a red banner, click “Download All Available Art” on the left hand side
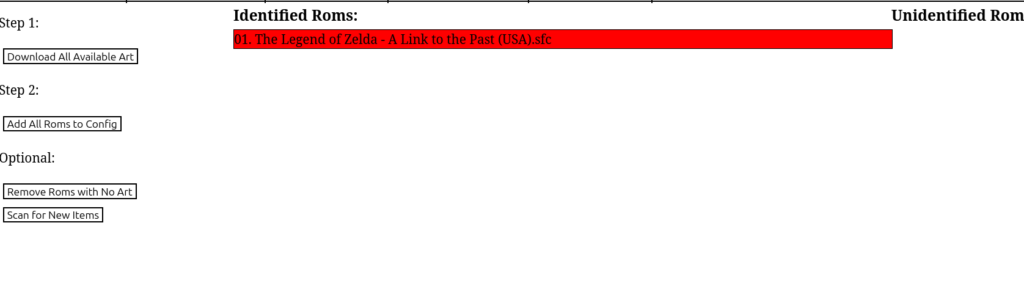

When that is finished close this box down and click “Add All Roms to Config”, now we are good to go and boot up A link to the Past. In your web browser go to the address we set up earlier (82 for me here, 80 if you kept the ports at default), it will load you into the Emulator WebUI
Click into SNES
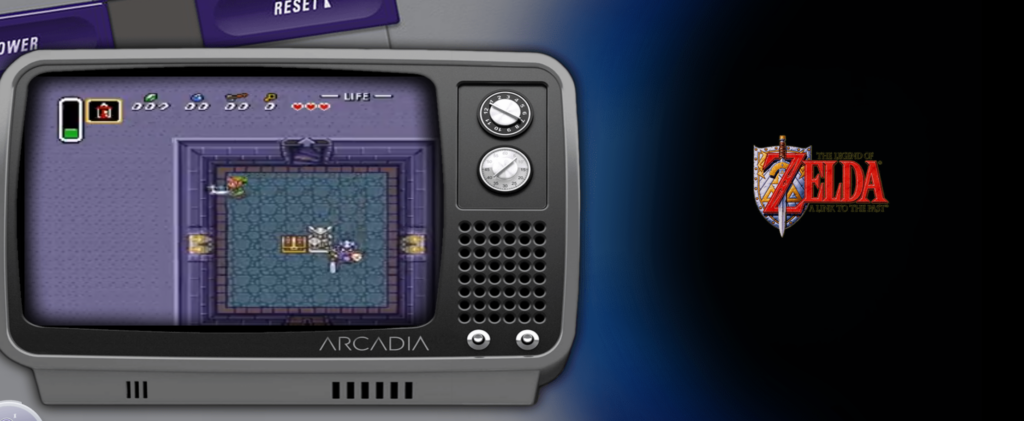
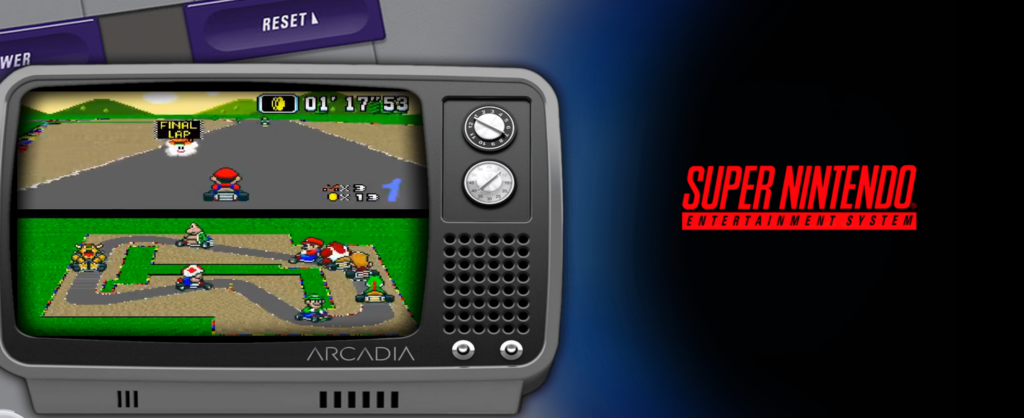
Click into Zelda – A Link to the Past
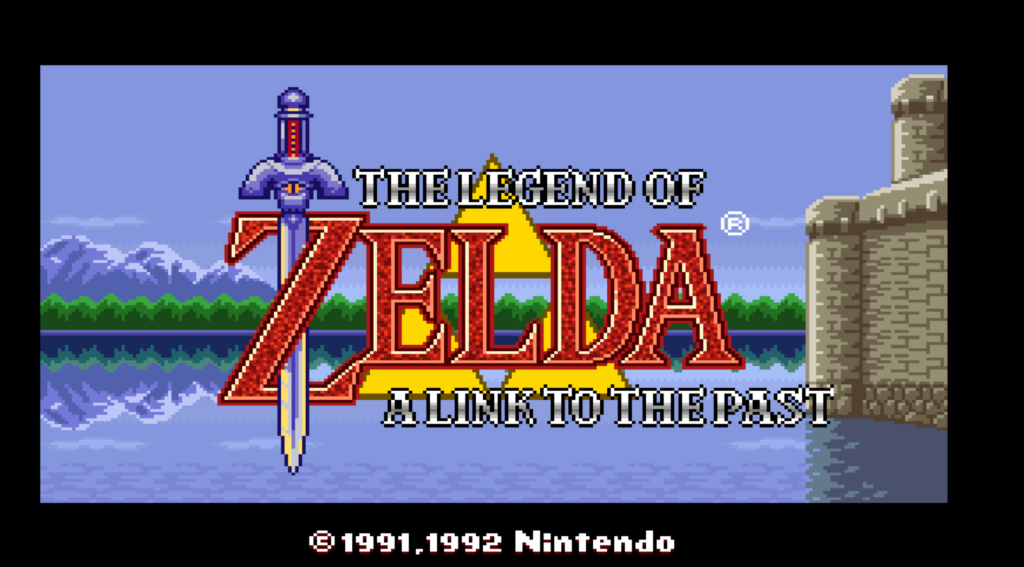
And Enjoy
Setting up Profiles and PSX
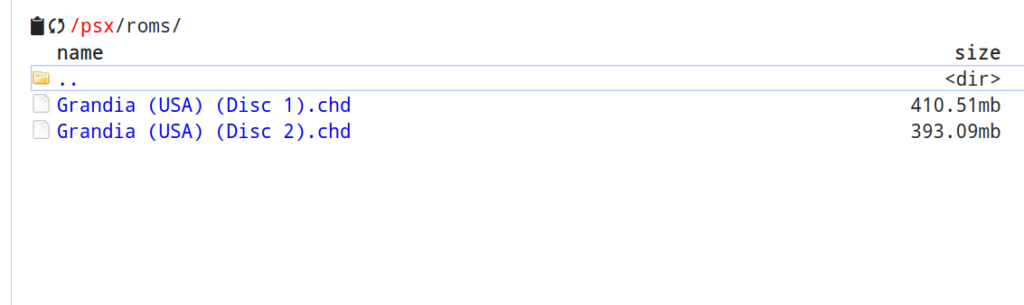
I’ll start with PS1/X, The PS1 has a few different types of ROMs available, I originally tired CUE\BIN files but they did not get recgonised, PBP and CHD are listed as supported, I can’t attest to PHP but the CHD file format works perfectly, the installation process is the same as the other consoles, but I am going to show a 2 disc game with the .chd format to see the naming convention, first we copy the files into the PSX roms folder:
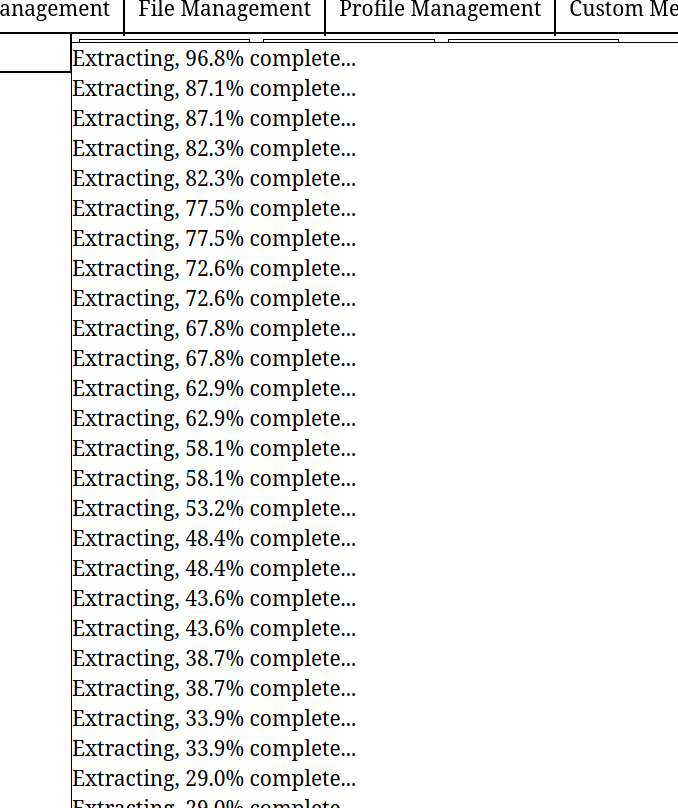
So to the Rom Management tab as before, click on scan – this time you’ll note that it’s a longer process, having to extract assets:
Click into the psx folder as before and “Download All Available Art” and “Add All Roms to Config”, this time when we load Emulatorjs webpage we should also have a PS1 option to chose from:
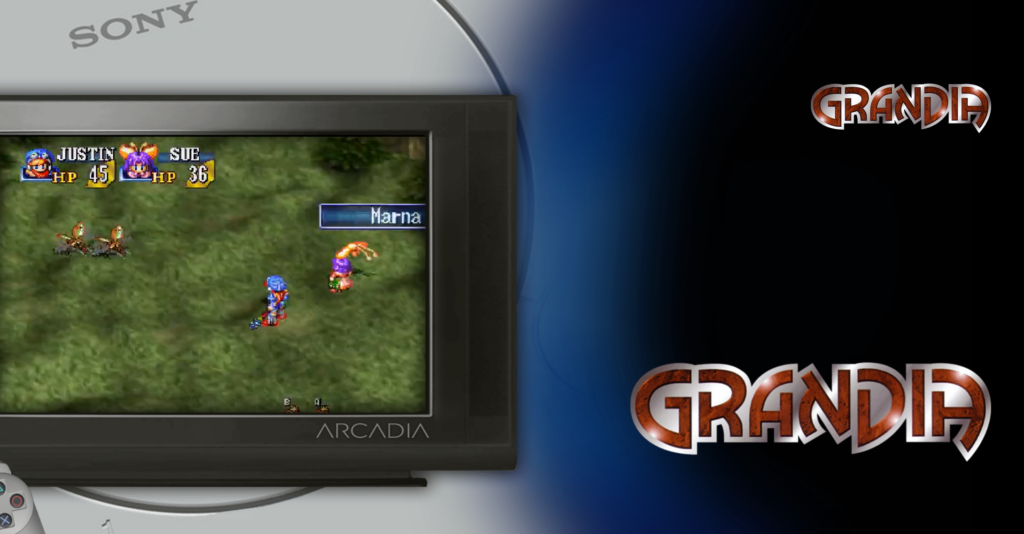

Now I have an additional way of playing Grandia other that the PS1 Disc I own (…maybe the nostalgia hit and I also own it on steam…..and a perhaps a Nintendo Switch physical copy when the company LimitedRunGames had a limited print of it)
Lastly it’s time to cover setting up and using user profiles, with our current configuration, if we start playing a game in 1 browser and swap over to a 2nd (or connect in on mobile on the go say), we don’t have access to or previous save files and have to start any game from the start, we can solve this by going to the “Profile Management” tab
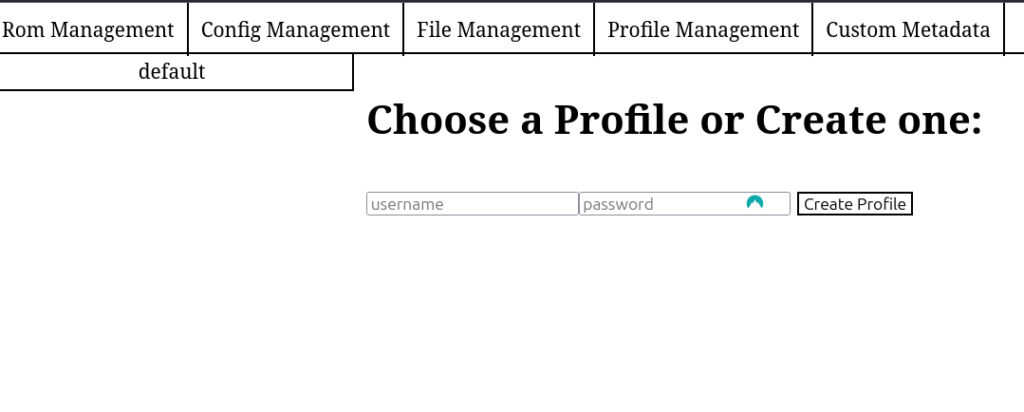
Create a profile:
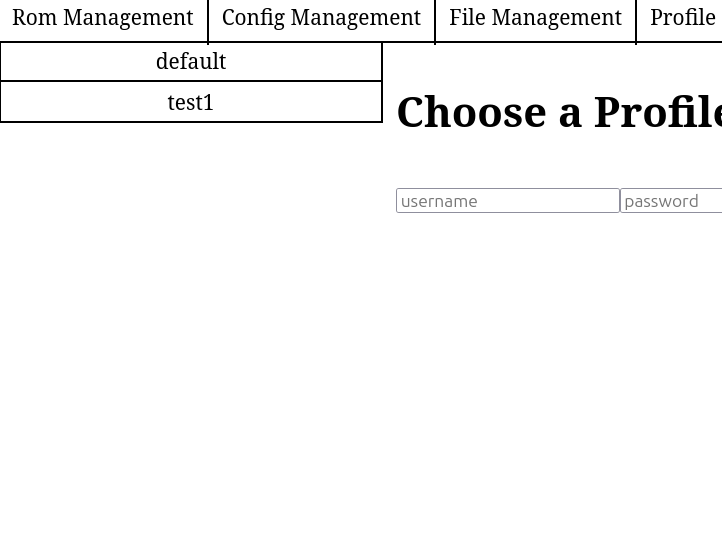
Now our user is created, when we laod the emulator in a web browser we can log in by selecting the settings folder:
and logging in

Now we can continue to play a game, and any save progress we make can be save by going back to this menu, but this time selecting the option “Push to Server”

This will upload your save data to your host server, you can then change device and select “Pull From Server” to download your save file onto the new device
That’s it, you now have a working emulator hosted on your server/homelab.
Leave a Reply