If you are just looking for a compose file I’ll keep it at the top here:
---
services:
  qbittorrent:
    image: lscr.io/linuxserver/qbittorrent:latest
    container_name: qbittorrent
    environment:
      - PUID=1000
      - PGID=1000
      - TZ=Europe/Belfast
      - WEBUI_PORT=8080
      - TORRENTING_PORT=41130
    volumes:
      - /mnt/Docker Containers/App_Data/Qbittorrent/appdata:/config
      - /mnt/Docker Containers/App_Data/Plex/downloads:/downloads
    ports:
      - 8080:8080
      - 41130:41130
      - 41130:41130/udp
    restart: unless-stopped
Link where I obtained the qBittorrent compose file: https://github.com/qbittorrent/docker-qbittorrent-nox
I’ve a few changes from the compose file in the link, I’ve changed the timezone (TZ) to that of my server (reduce the chance if any complications) – here is a list of all the Time Zones: https://en.m.wikipedia.org/wiki/List_of_tz_database_time_zones
2nd change I have is the Torrenting port, certain Internet providers can block the default ports used by Torrent clients, I had need to change the port but you can keep the default 6881 if it causes no issue.
The final change is under “volumes”, replace this with your own storage location.
The Installation
If we navigate to our Portainer installation, on the homepage go to stacks

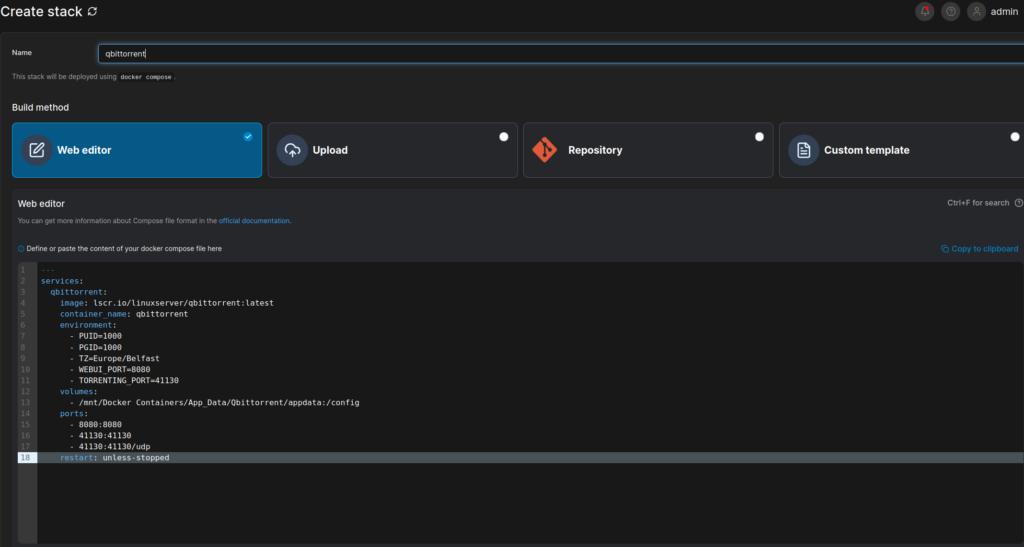
add a stack

Call our stack qBittorrent (only lower case letters can be using in the naming, it will give a warning if you try to use any characters not allowed.

Copy and paste the the compose file from above into the “web editor” and then press the deploy this stack, that’s it we should now have qBittorrent installed.
We can go to our containers dashboard to view all our running containers, under the heading “published ports” if we click on 8080 we will be brought to the Login page, the default credentials are:

Username: admin
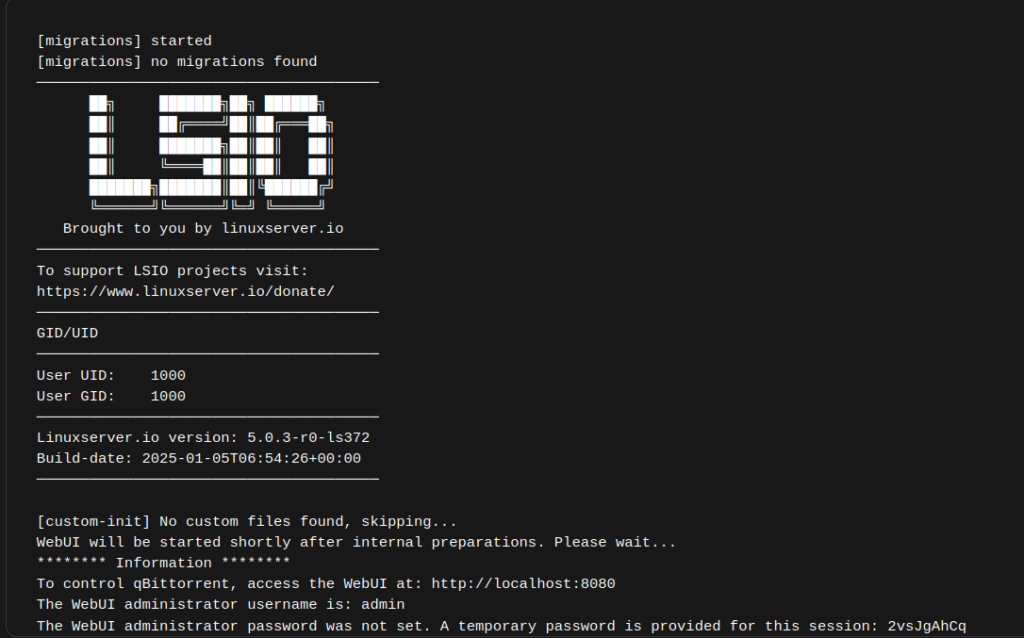
Password: this is a unique auto generated password for initial login, we can find it within Portainer:
if we go back to Portainer home dash board,
click on containers

find your qBittorrent container

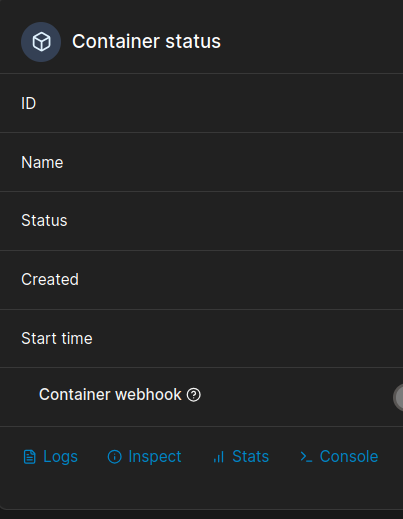
Click into it

on this screen we click on logs

Here is where we can find the generated password for our initial login. 2vsJgAhCq being the generated password for this instance.
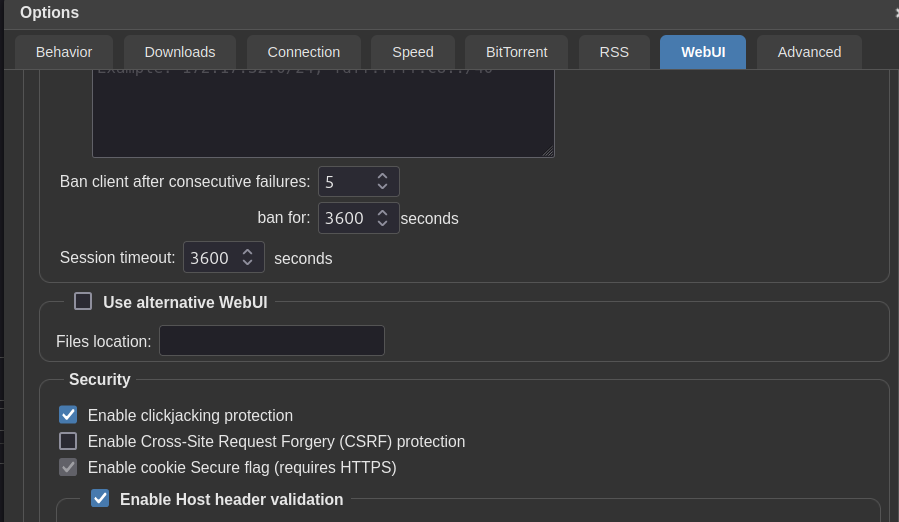
If you are like me and using Nginx to give containers – such as qBittorrent – a local domain name, and encounter an issue where tying in the domain name works, but clicking on the domain name brings you to an error page saying “unauthorized” , simple fix is to open the Webui and press the cog icon to bring us to settings

Navigate to the Webui tab within settings, scroll down until you see “Enable Cross-Site Request Forgery (CSRF) protection” and proceed to disable/untick this box

You should now be able to open up qBittorrent when clicking on the link within Nginx Proxy Manager.

Leave a Reply