With NordVPN Meshnet
Suppose it’s about time to give an overview of how I have things setup.
Nordvpn Meshnet
For a detailed description of what Meshnet is, click here, but a quick description is that it lets you securely connect to your devices remotely, you can transfer files or as I use it – remote access to my devices. Meshnet itself is free, but requires you to create a NordVPN account, the VPN services of Nord are a premium feature.
First thing I set-up was a Raspberry Pi 5, I have the 8GB Starter kit, which is probably somewhat overkill for my use but hey – at least I have room to grow.
NordVPNs page on installing the VPN on Linux is what we are primarily going to be following, connect into you Raspberry Pi, I use RealVNC Viewer, open the Terminal and enter
sh <(curl -sSf https://downloads.nordcdn.com/apps/linux/install.sh)
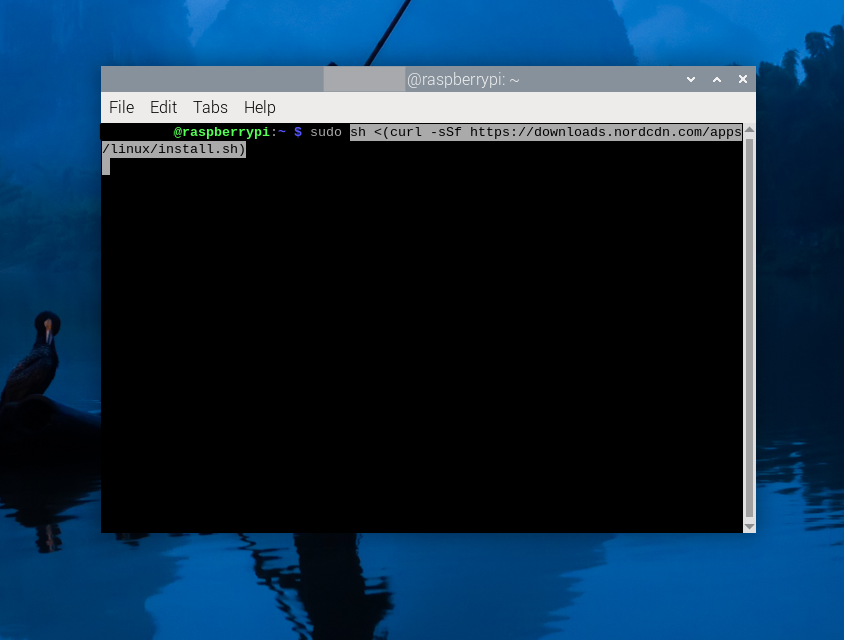
This will install the NordVPN client on the device, after it finishes we reboot the Pi. Afterwards we opn the Terminal back up and type:
nordvpn login
This will return us a message asking us to go to a URL:
Continue in the browser: https://api.nordvpn.com/v1/users/oauth/login-redirect?attempt=XXXX1234-1234-1234-1234-XXXXXXXXX1234The message says to continue in the browser so we copy the link, navigate to your browser and paste the link in, press enter and we will be brought to the NordVPN login screen
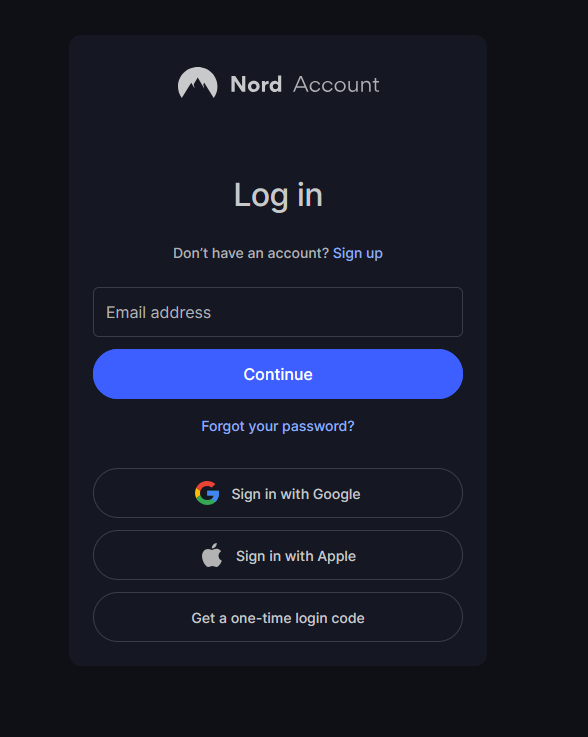
Login with the email address you’ve created an account with, after this we are greeted with another screen informing us that we are in, click continue and then copy the url address from the address bar
Back to the Terminal and enter the following
nordvpn login --callback "enter the URL copied previously here"All going well the above step should return the following:
Welcome to NordVPN! You can now connect to VPN by using 'nordvpn connect'.Now that’s NordVPN and Meshnet installed we have to enable Meshnet, in the terminal:
nordvpn set meshnet onShould return:
Meshnet is set to 'enabled' successfully.We can use:
nordvpn meshnet peer listTo list the details of all devices connected to your Meshnet, the first one the list will be the current device (the Raspberry Pi)
My Pi Nickname
Hostname: xxxxxxx-himalayas.nord
IP: xxx.xxx.xx.xx
Public Key: xxxxxxxxx+xxxxxxxx/xxxxxxx/xxxxxxxx
OS: linux
Distribution: Debian GNU/Linux

Local Peers:
Nickname: Mobile Device
Hostname: xxxxxxxx-everest.nord
Status: connected
IP: xxx.xxx.xxx.xxx
Public Key: xxxxxxxxxxxxxxxxxxxxxxxxxxxxxxxxxxx
OS: android
Distribution: 31
Allow Incoming Traffic: enabled
Allow Routing: enabled
Allow Local Network Access: enabled
Allow Sending Files: enabled
Allows Incoming Traffic: enabled
Allows Routing: disabled
Allows Local Network Access: disabled
Allows Sending Files: enabled
Accept Fileshare Automatically: disabled
You will see something to the above effect, I have removed any information that may cause me future problem, Nord likes to name the Devices xyz-everest/xzy-alps etc but you can rename them in the mobile app or in the account settings on the website.
A few essential commands for changing:
Remote Access Permissions:
nordvpn meshnet peer incoming allow <device>
nordvpn meshnet peer incoming deny <device>
File sharing permissions:
nordvpn meshnet peer fileshare allow <device>
nordvpn meshnet peer fileshare deny <device>
Traffic routing permissions:
nordvpn meshnet peer routing allow <device>
nordvpn meshnet peer routing deny <device>
Local network permissions:
nordvpn meshnet peer local allow <device>
nordvpn meshnet peer local deny <device>
With the above setup I am able to access devices as if connected locally, for example, Open the NordVPN App, on the main Dashboard click the drop-down menu for devices and find your Pi:
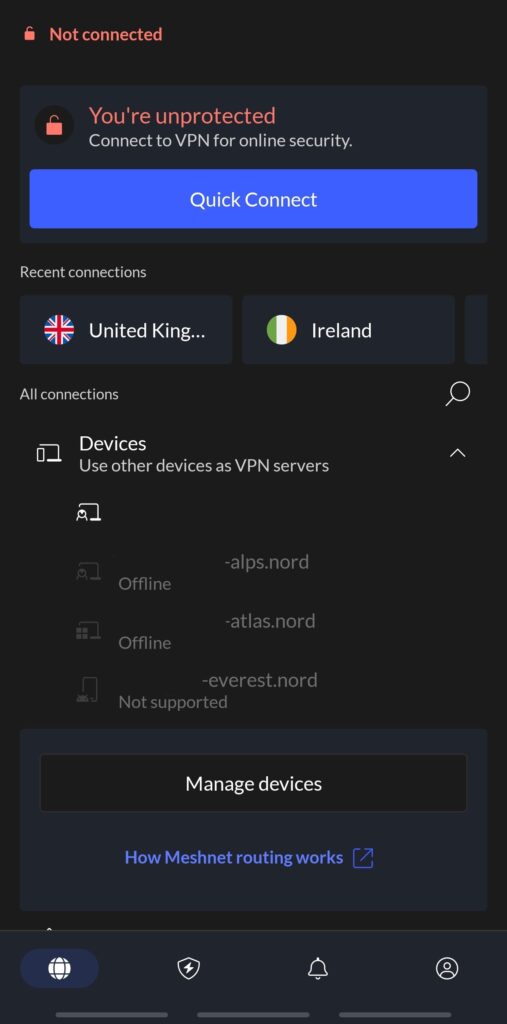
Click to use the PI as a VPN server, this will route your traffic through the Pi giving you local network access
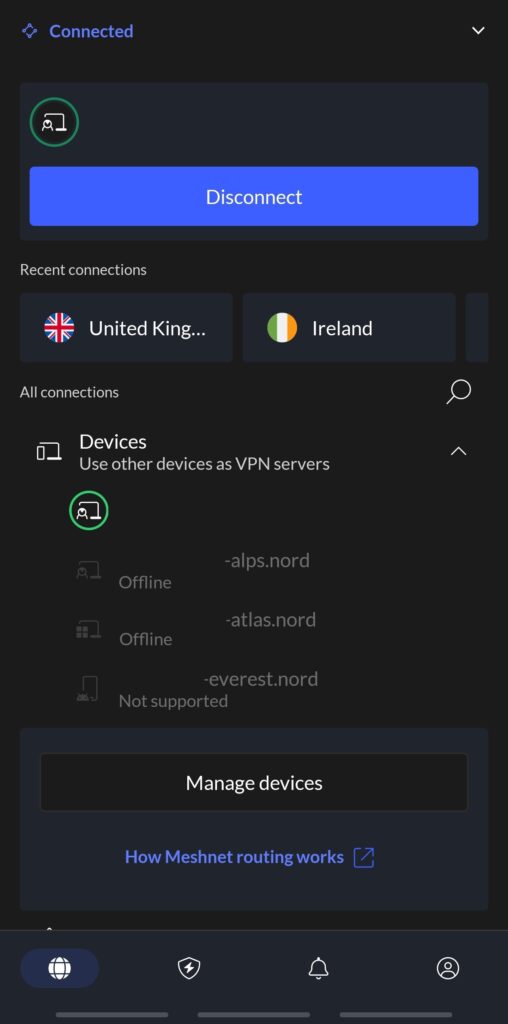
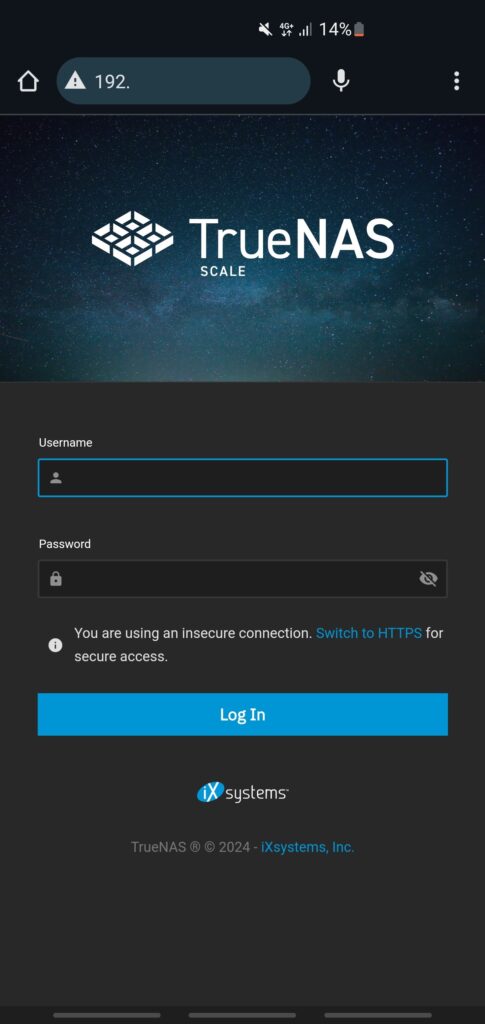
Here I am on Mobile date but able to connect to my Truenas device using it’s Local IP address, I can also connect to the containers running from it/ the Raspberry Pi 5 etc
Pi-Hole
Pi-Hole Documentation can be found here, but if you want to follow along here, navigate back to the Terminal on the Raspberry Pi and enter:
curl -sSL https://install.pi-hole.net | bashcontinue past the first few dialogue boxes,
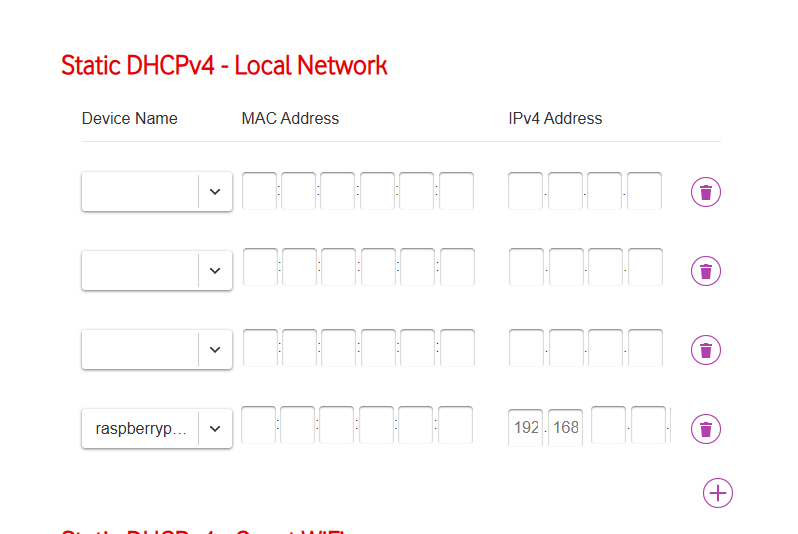
Pi-Hole will warn you that it requires a static IP address – I set this this up within my router after the installation, every router is going to be slightly different for mine it cane be found under: Settings-Local Network-Static DHCPv4 – Local Network
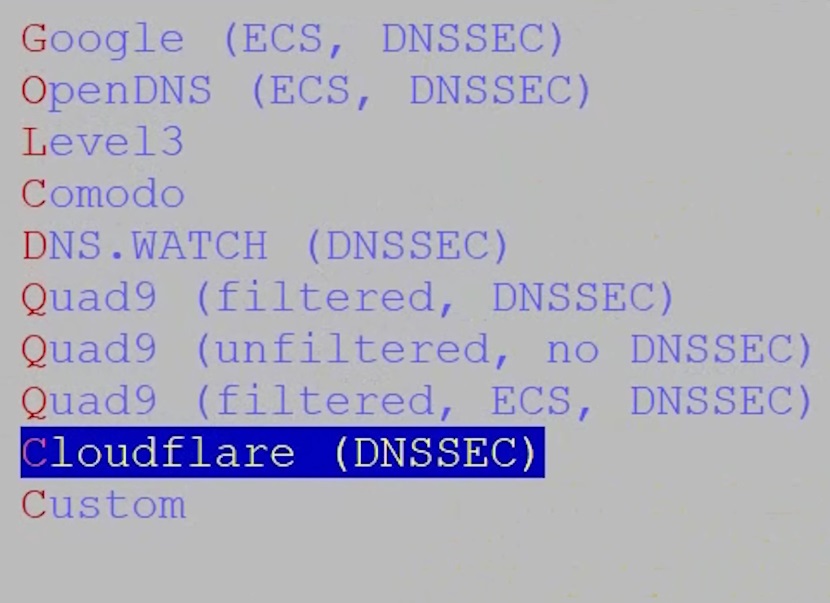
upstream I picked Cloudflare, feel free to go Goole etc
During the installation it will ask if you want to install the Admin Web Interface, I most certainly said yes to this, if you are comfortable without it you can skip this part.
After the installation is complete you’ll see an auto generate Web Interface Password but you can change this with:
pihole -a -pAfter which you will be promoted to enter a new password.
To access the Pi-Hole Interface you have to enter the static IP address setup earlier followed by “/admin” eg: 192.168.1.2/admin
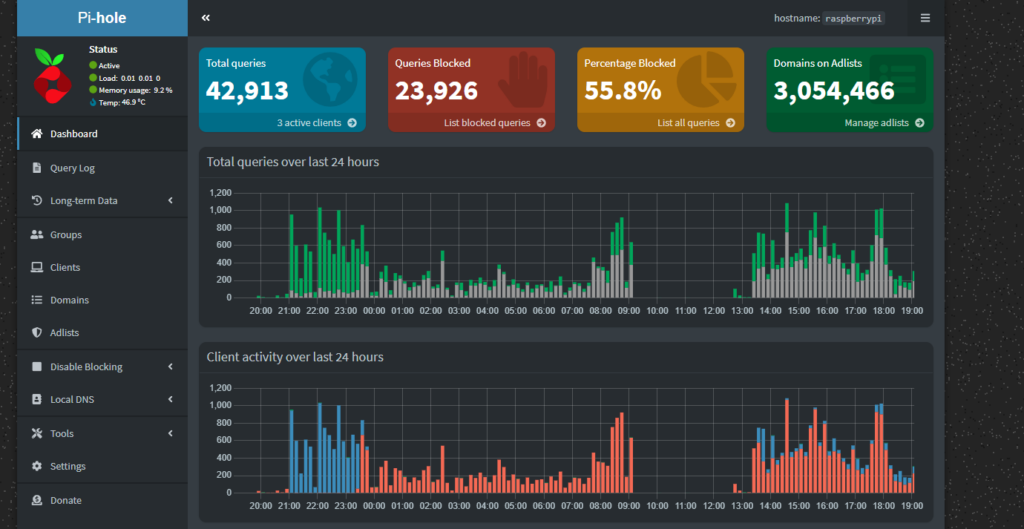
Adlist:
Here is a collection of curated Lists you can add to your Pi-Hole https://firebog.net/, click on add lists above, copy and paste in the URL and add a comment if you wish:
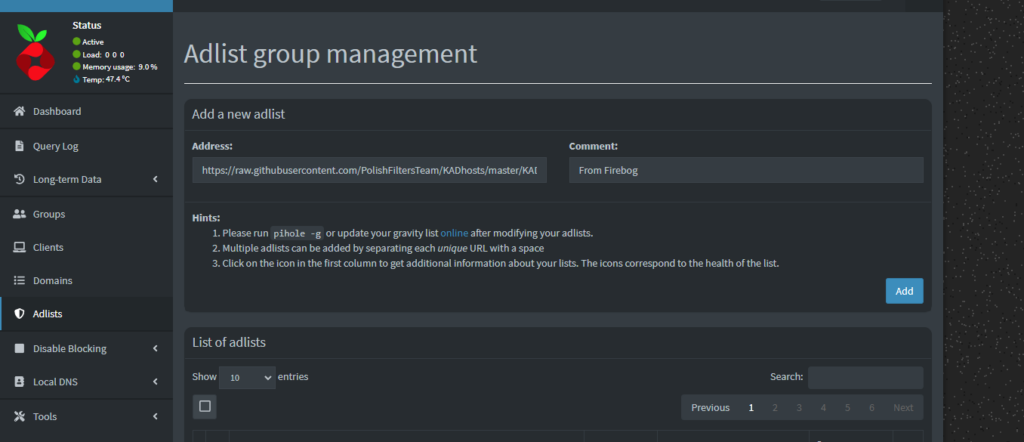
Add as many or as few as you want.
Local DNS:
This is a feature of Pi-Hole I’ve ended up using more than I initially intended, go to “Local DNS”, expand and select DNS Records

Here we add/use a Domain name/Sub-Domain for services running on our Local network, for example – say we have Truenas running in our Network, and instead of accessing it with an IP address, we want to access it with a domain name, we can setup truenas.domainname.com to resolve and bring us to the Web interface:

We are telling Pi-Hole to send any traffic for “truenas.domainname.com” to the local ip address of “192.168.1.100”
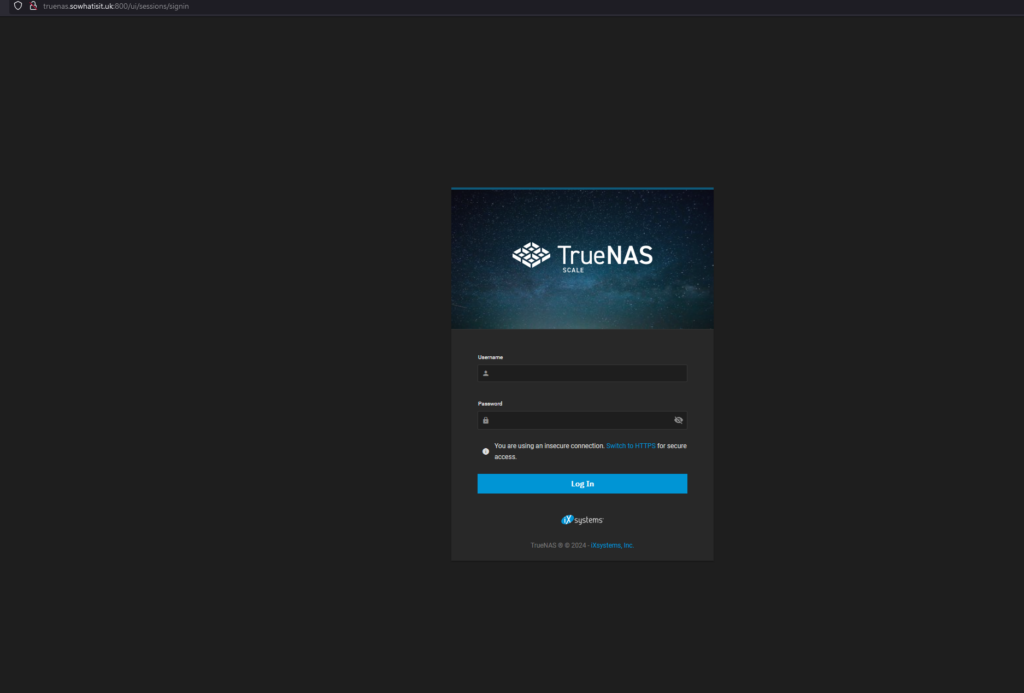
This works perfectly for A records, but suppose we have a few containers running in Truenas, they all use the same local ip address – 192.168.1.100 in the example above, but operate on different ports, this is where CNAME and Nginx Proxy Manager comes in to play.
If you configured Nginx and Truenas similar to myself here, you will have changed the default port in Truenas so Nginx can still list on port 80, so in the the above example 192.168.1.100 will now resolve to Nginx because we altered the ports, in Pi-Hole we go to CNAME and create as many new CNAME records as we need for however many containers we have running, the target Domain here will be the domain you created an A record for previously that resolved to Nginx:

As we changed the default port of Truenas, we can no longer access the web interface without typing in ipaddress:port, we can remedy that,
so far what we have is Pi-Hole directing a Domain Name for Truenas to Nginx Proxy Manager, we now need to configure Nginx to resolve it the rest of the way, open the Dashboard:
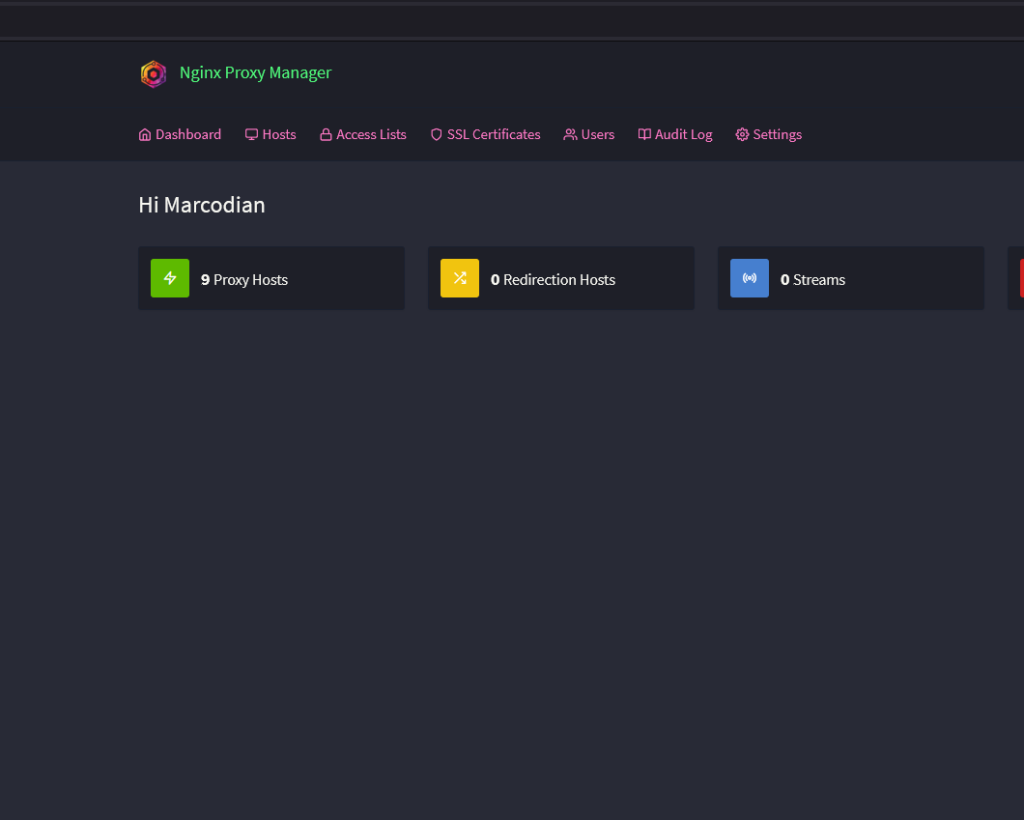
go to hosts – FYI, if you’ve not set this up before your proxy hosts will be listed as 0.

Click on “add Proxy Host”
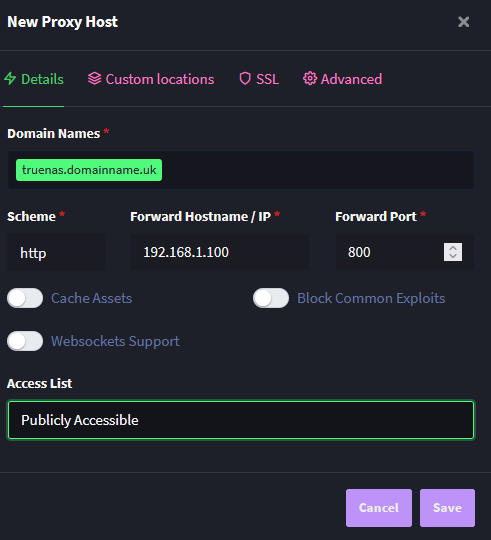
Here we fill out our details
– Domain name is what you set up as the CNAME in Pi-Hole
– Scheme- this can be either http or https depending on what the application is, Truenas here is http
– Forward Hostname/IP is the IP address that the application is running on
– Port is whatever the port you specified is, if following along you’ll note I set my Truenas port to 800
Now if we type in Truenas.domainname.com into our browser, we will be directed to our Truenas Web interface. If we have multiple services/apps running on the same device we can access them by going through the above process but changing the associated port:
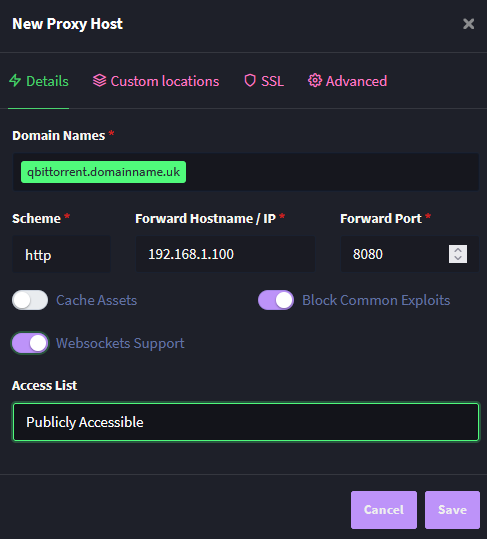
Note: I noticed some apps requiring Websockets Support, most work fine without it but I enable it and Block Common Exploits as standard.

Leave a Reply